I have used Adobe Photoshop and similar programs since I was little for my own personal use. I have always been artsy and enjoyed drawing pictures or creating images on the computer.
Growing up a horse obsessed little girl, I played a couple similar horse games online. In these games, you owned horses and trained them by entering them in shows to earn points. The higher the points, the more valuable the horse. You could then sell your horses breed them to produce valuable offspring. A big part of the game was having extravagant and edited images for your horses and layout. Ya ya.. don't make fun!
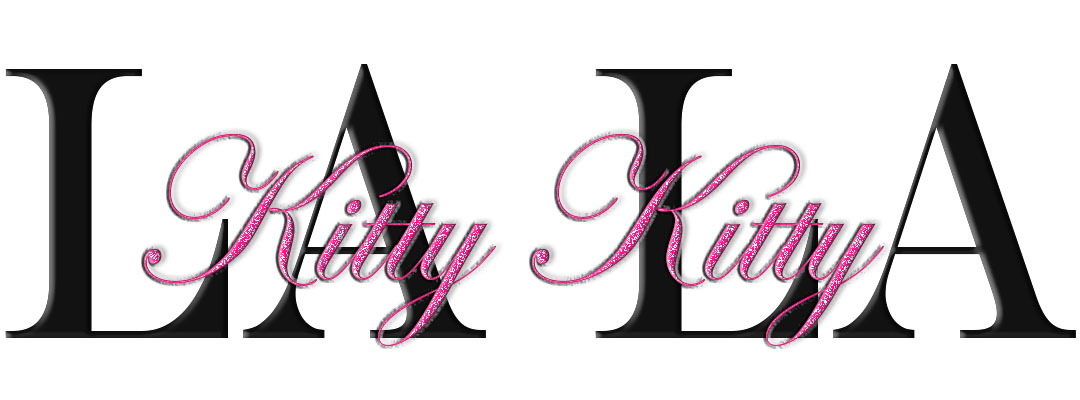
Anyways, I wanted to share with all of you how to create Glitter Text in Adobe Photoshop! You can use it for anything, such as event invitations or for some image on your blog. I hope this will help you! I know there's probably many ways to make glitter text, but this is how I do it! I'd love to see some of
your finished work!
Open Photoshop. Create a new document.
I selected to create a custom document so I could make it a size that I wanted. Here I'm going to make the banner for my blog! **Note, not the actual image used for my blog as I already made it before deciding to make this blog post!
Add your text!
Duplicate your layers!
This is more important when you are editing an image, but this way if you mess up you haven't lost everything!
Time to Glitter!
You can use the drop down menus on the top or I like to double click on the layer I want to edit to bring up the tool window. To get the Glitter effect, click on Pattern Overlay and set the Blend mode to Dissolve. I like doing it this way because you can see a preview of the changes being made.
Play Around With the Settings
I like to play with the Opacity and Scale to get it exactly how I like it for my projects.
Play Some More
I also like to do a few other things to give it some personality. It all depends what you want or like!
Admire Your Finished Work
Then you are left with a finished copy! You can sometimes duplicate the edited layer to make it seem a little bolder. Make sure you save it before you quit!
**Important Note**
If you save it as a .jpeg, it compresses the layers into one image so you will lose the ability to edit individual layers in the
future. So if you plan on going back and editing it, make sure you save a
Photoshop copy as well!


No comments:
Post a Comment